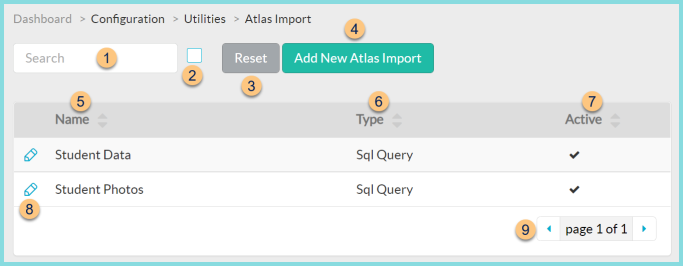
Atlas Imports
Configuration > Utilities > Atlas Imports
-
Search - search by name
-
Box - check to include inactivated imports
-
Reset - click to reset search parameters
-
Add New Atlas Import - click to add a new import
-
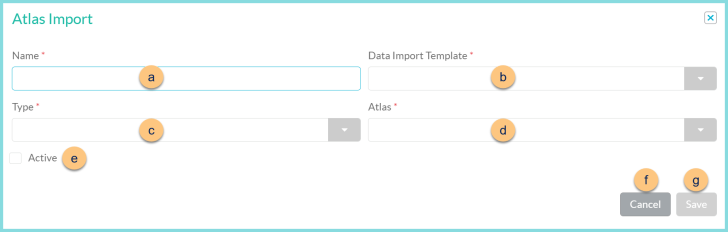
Name - enter import name
-
Data Import Template - select data import template
-
Type - select import type (File, SQL Query)
-
Atlas - select authorized Atlas
Location (not pictured, File type only) - enter location
Connection String, SQL Query (not pictured, SQL Query type only) - enter connection string and SQL Query -
Active - toggle active status
Delete (not pictured, existing imports only) - click to delete import
-
Cancel - click to return to the previous screen without saving changes
-
Save - click to save changes
-
-
Name - click to sort by name
-
Type - click to sort by type
-
Active - click to sort by active status
-
Pencil - click to edit an existing import. See Step 4 for details.
-
< > - click to scroll through pages